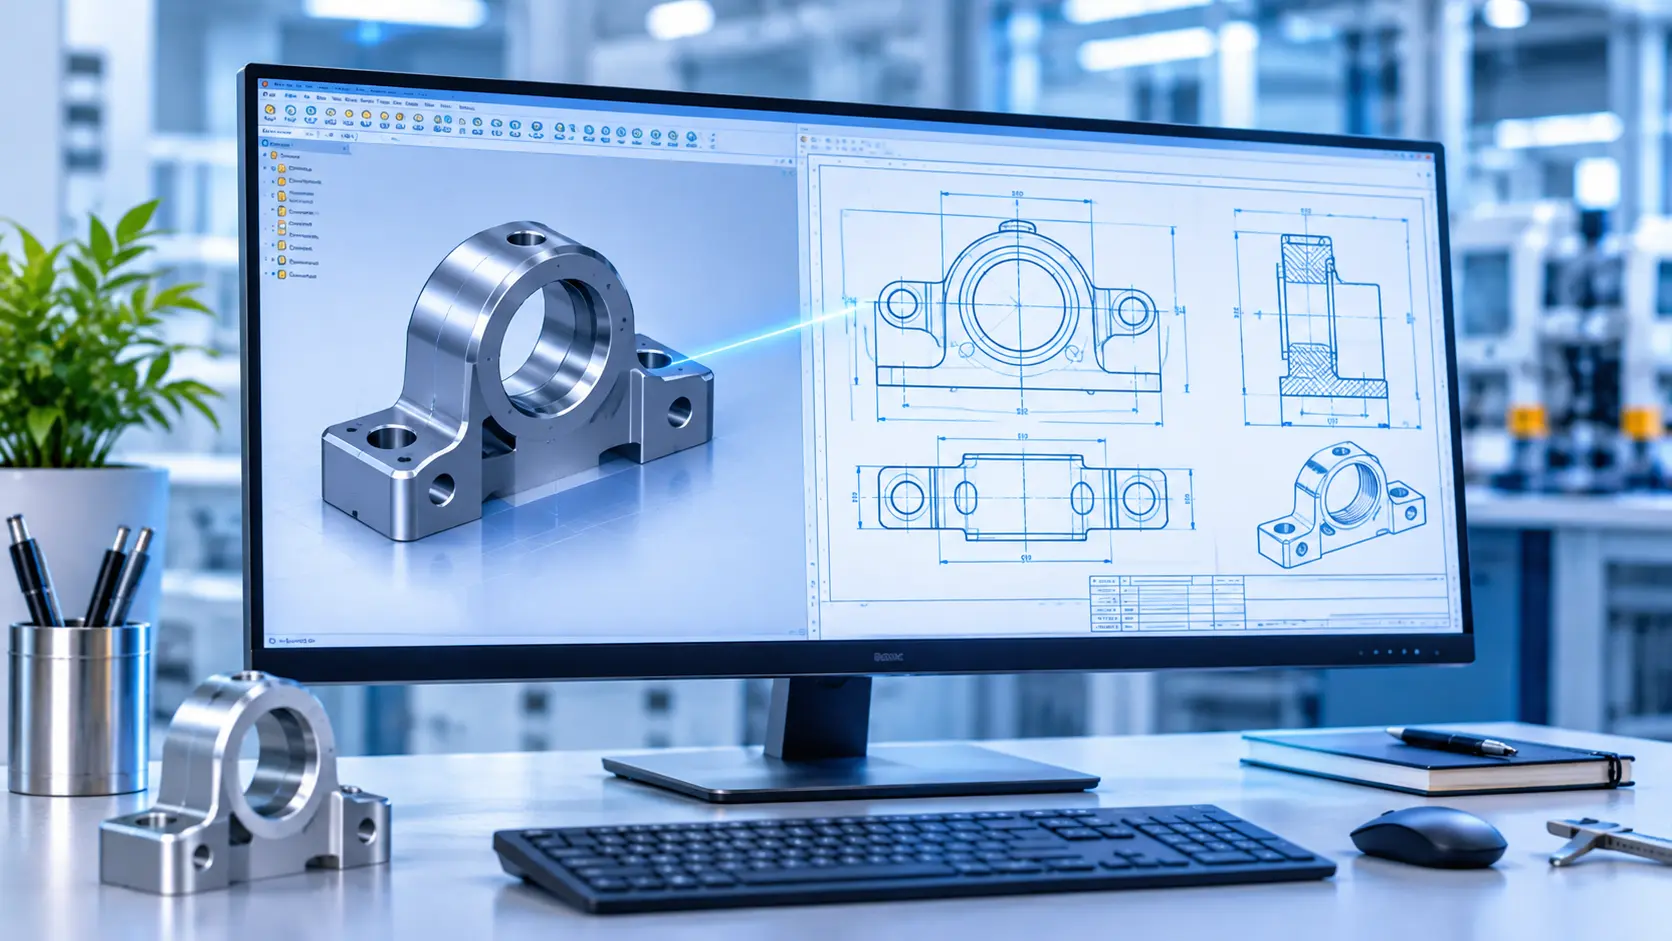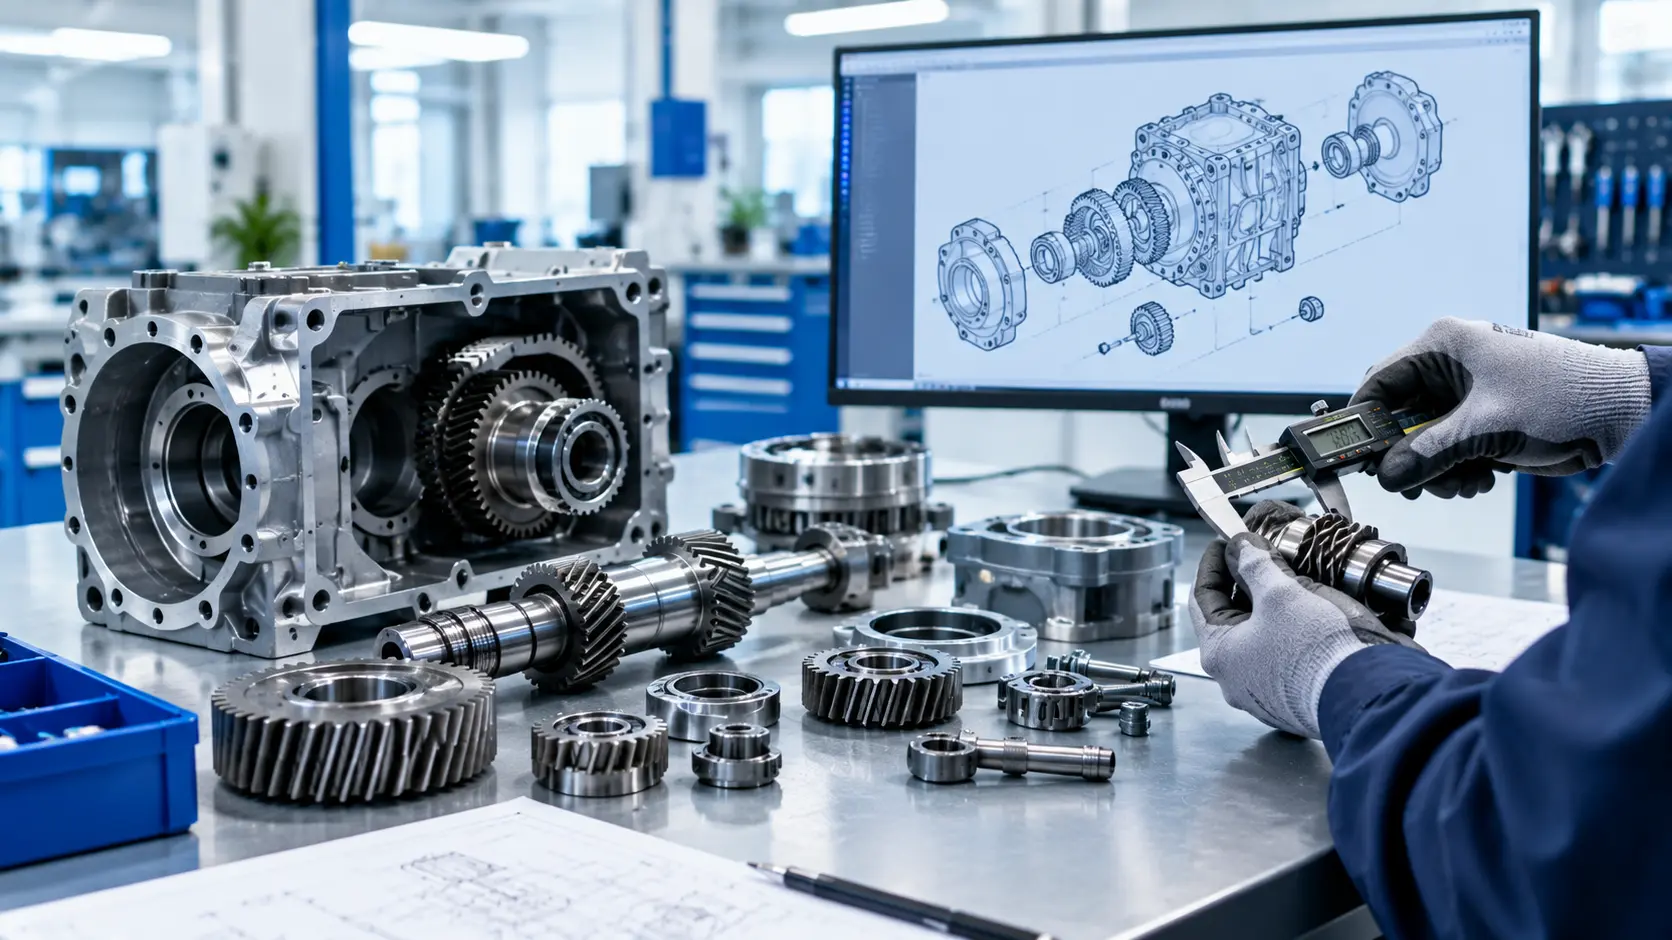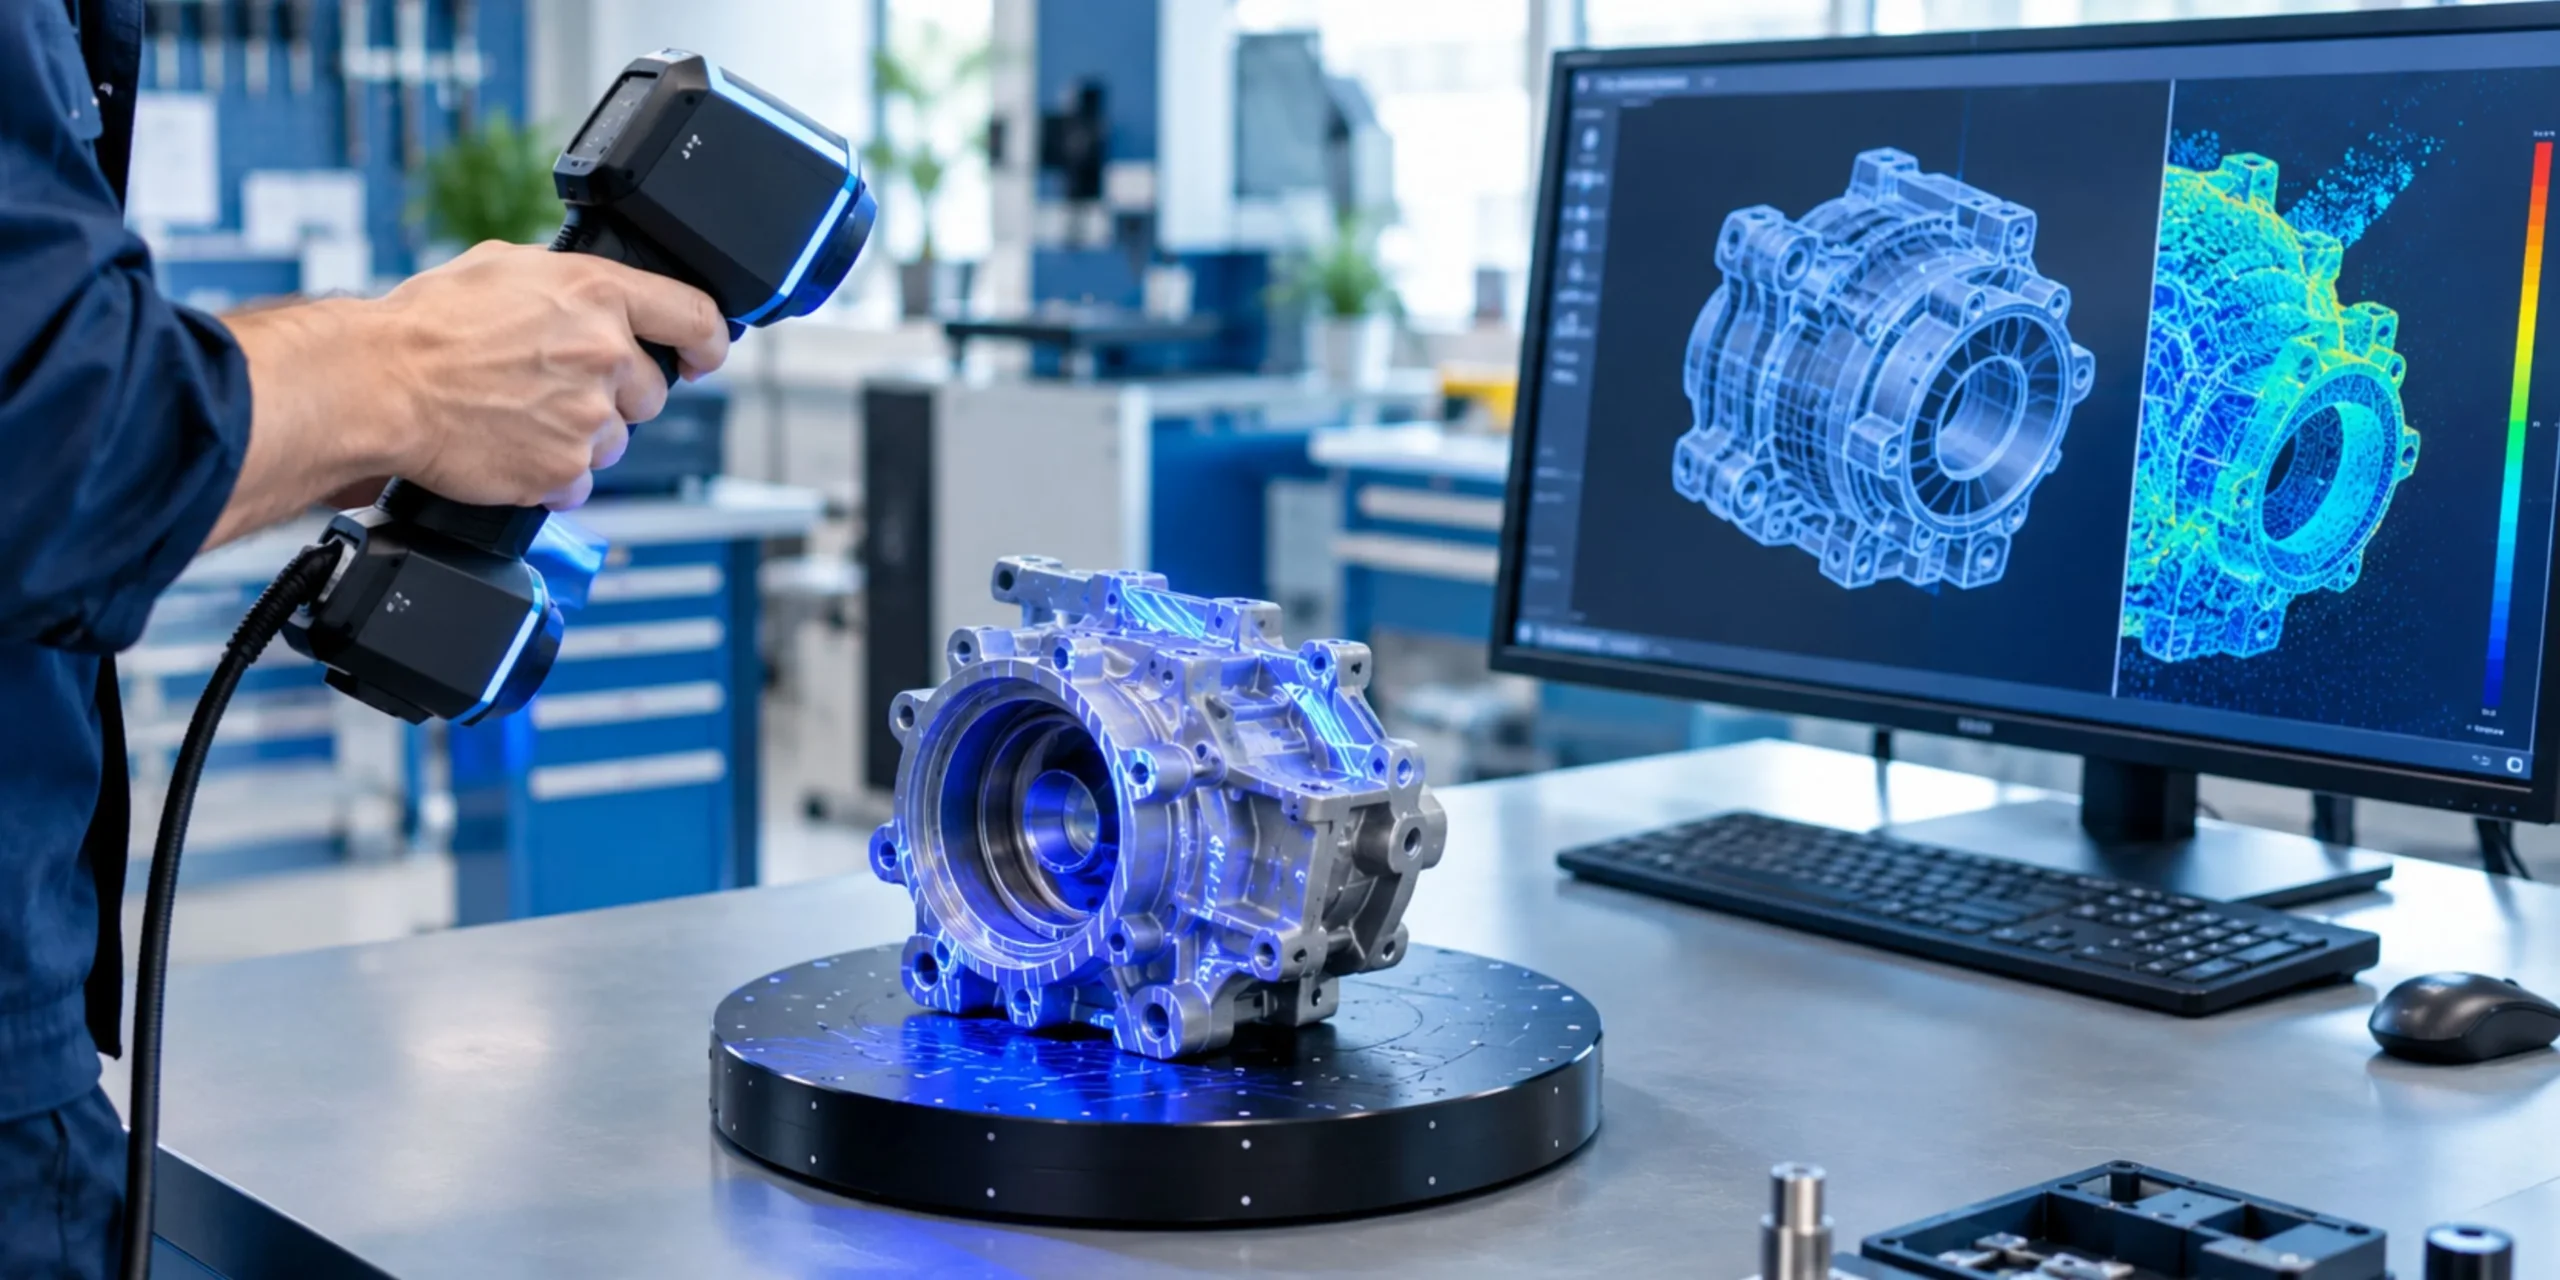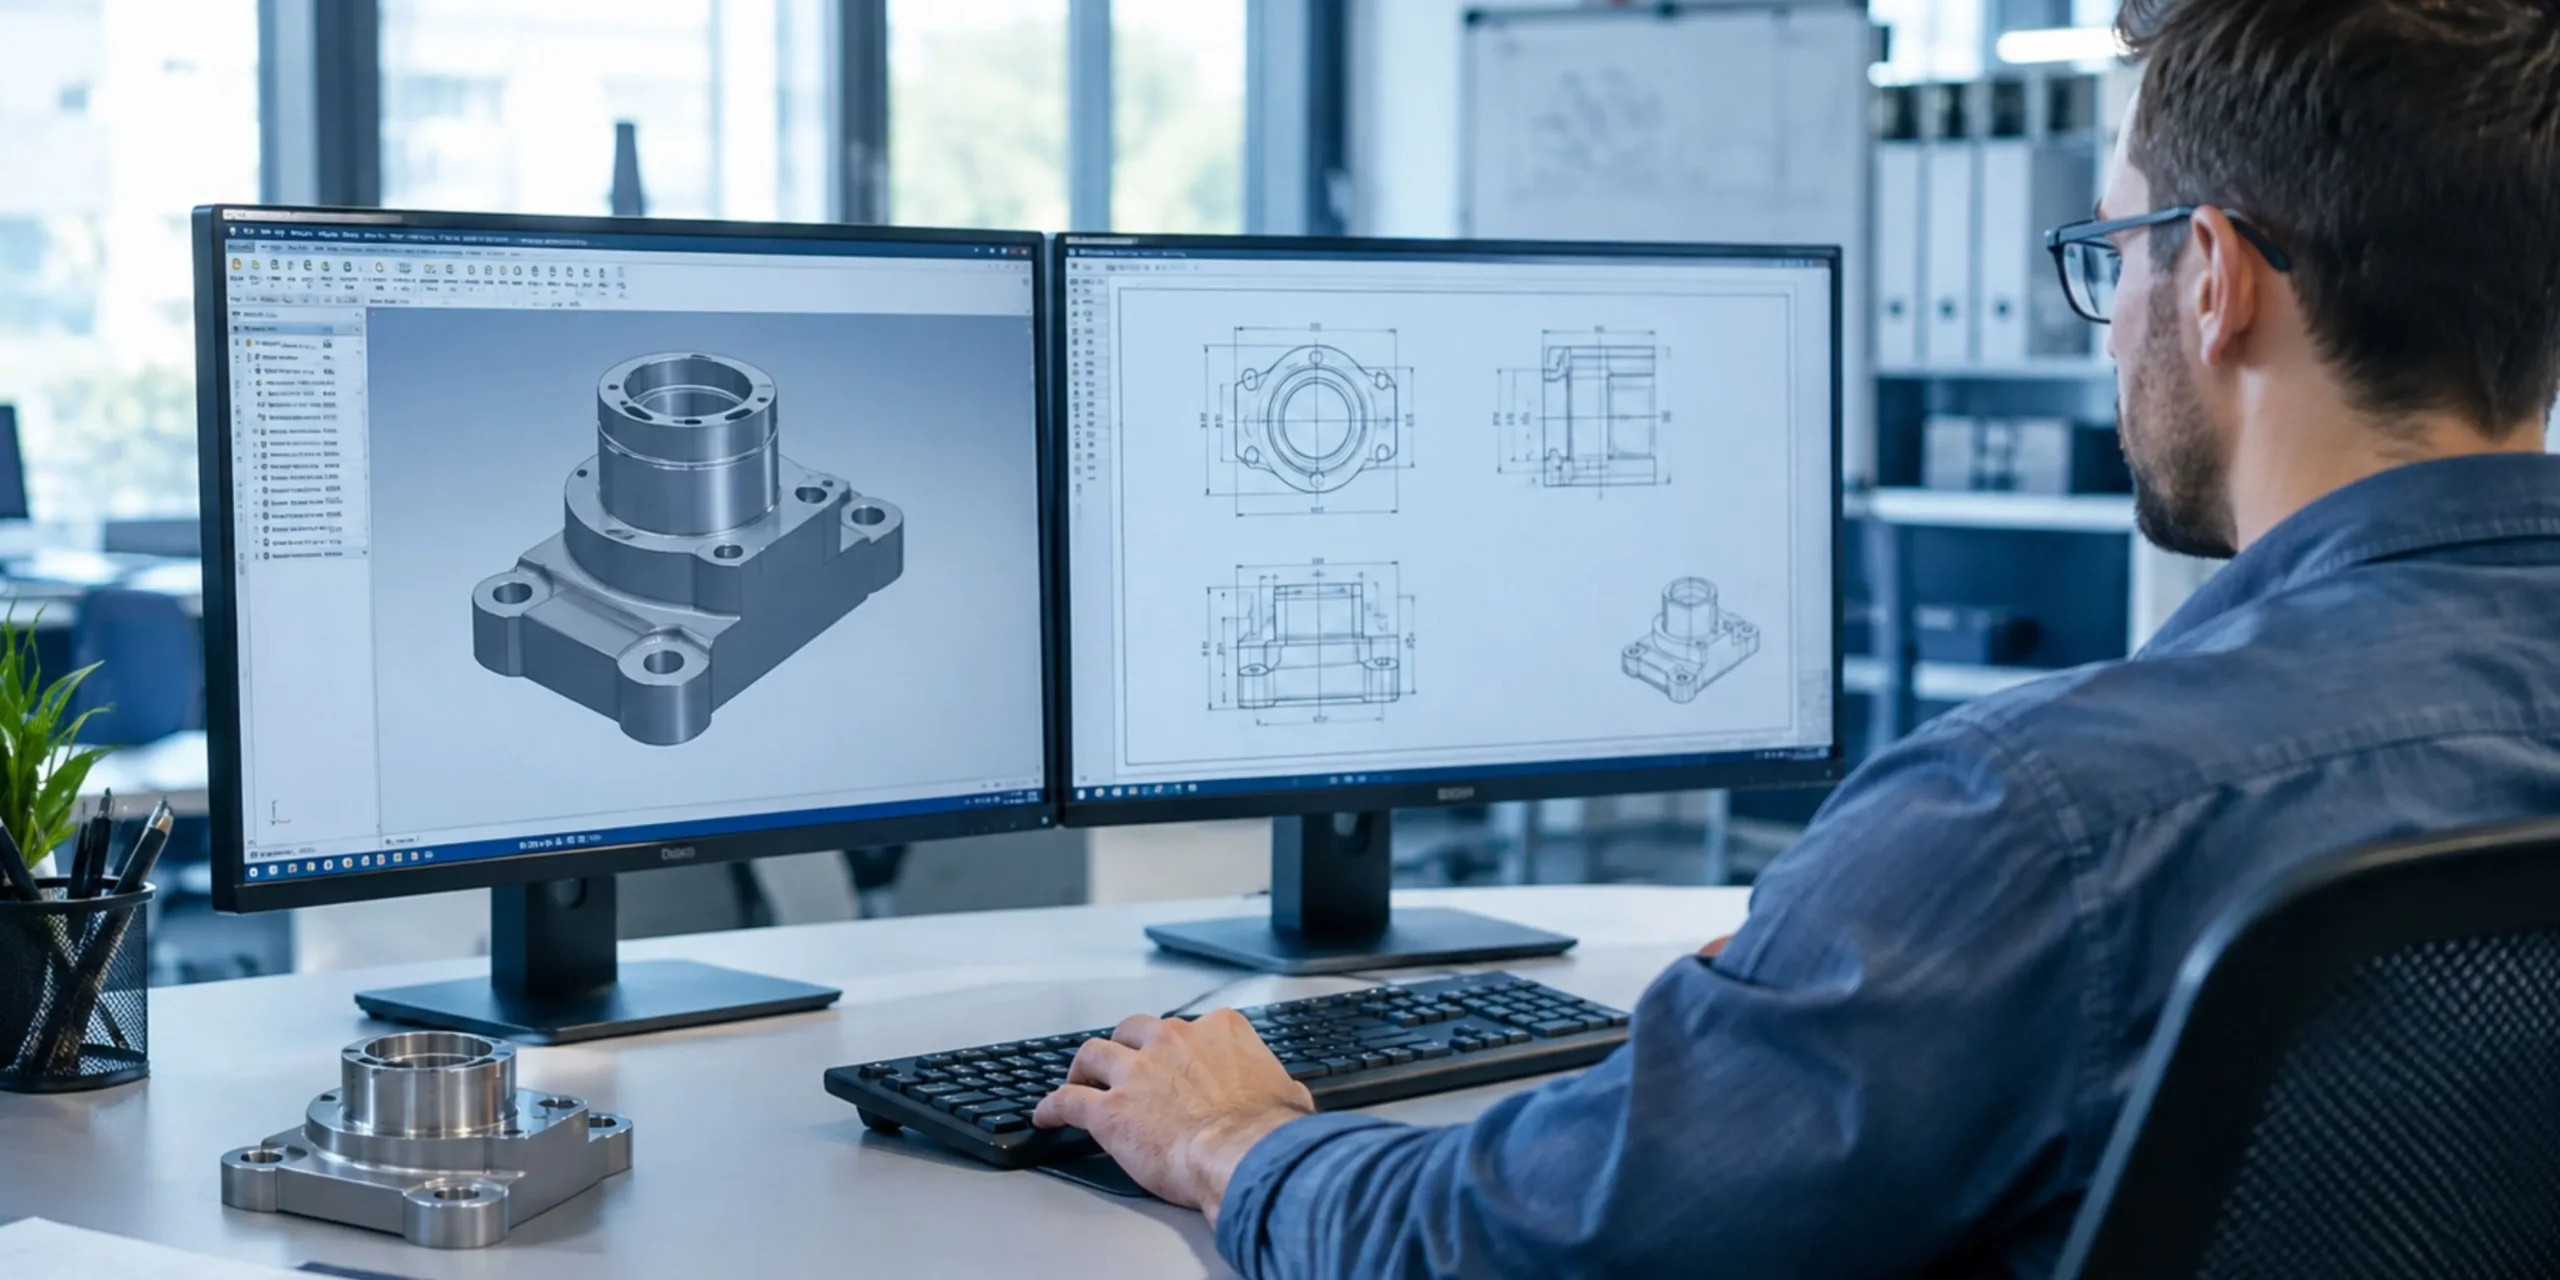

Design for manufacturing cost reduction starts on a screen, not on the shop floor. Most overruns begin weeks earlier, when someone draws a part without asking how it will be made.
That is the whole case for Design for Manufacturing. You design the product and the way it gets built at the same time. Do it well and you cut scrap, rework, and lead time without touching quality. Do it badly and you pay for the mistake on every single unit.
So here is what to do before you design, while you design, and after the first parts come off the line.
What Design for Manufacturing Really Means
Design for Manufacturing (DFM) is a simple idea. Every design choice should make the part easier to produce. Fewer steps, fewer special tools, fewer ways to get it wrong.
It is not about making things cheap. Cheap parts fail. Design for manufacturing cost reduction removes cost that adds nothing, like a tolerance nobody needs or a bracket built from six pieces when two would do. If you want the basics first, read our post on why DFM matters before production.
Here is the part many teams miss. A large share of a product’s cost gets locked in at the design stage. Changing a drawing costs almost nothing. Changing a tool or scrapping a batch costs a lot. That gap is where the savings live, and practical DFM best practices all point to the same thing: decide early.
Before You Design: Set the Rules Early
The cheapest gains in design for manufacturing cost reduction come before you open your CAD software. Settle these three things first.
Pick the Process First
Decide how the part will be made. Machining, sheet metal, casting, and molding each have their own limits on wall thickness, corner radii, and tolerances. Design inside those limits from the first line. Forcing a machined design into a stamped part never ends well.
Talk to the Shop Early
Your fabricator knows things your model doesn’t. Which drill sizes they stock. Which bend radius their press brake likes. Where they lose time. A fifteen-minute call now beats a three-week redesign later.
Choose Materials With Cost in Mind
The strongest material is rarely the right one. Pick what meets the load and the environment, then check availability and lead time. A common grade in standard sizes is cheaper to buy and cheaper to cut. Exotic alloys should have to earn their place.
During Design: Simplify Without Weakening
This is where most of the savings are made. Keep the function, cut the fuss.
Cut the Part Count
Every extra part adds drawings, inventory, assembly time, and one more thing that can fail. Combine parts where you can. Use one bent bracket instead of a welded stack. If two parts never move against each other, ask why they are separate.
Loosen Tolerances Where They Don’t Matter
Tight tolerances drive cost faster than almost anything else. Apply them to mating surfaces and critical fits. Leave everything else at a standard range. Teams that tolerance every edge pay for precision they never use. This overview of DFM principles explains the logic well.
Design for the Process You Chose
Small rules add up. Keep wall thickness consistent. Avoid deep, narrow pockets. Use standard hole sizes. For fabricated parts, a good sheet metal design service builds in bend allowances, relief cuts, and nesting-friendly shapes from the start.
Test Digitally Before You Cut Metal
Prototypes are slow and expensive. Run stress and deflection simulations first, then trim material where the part is over-built. You thin the design out with confidence instead of guesswork.
A Quick Design for Manufacturing Cost Reduction Example
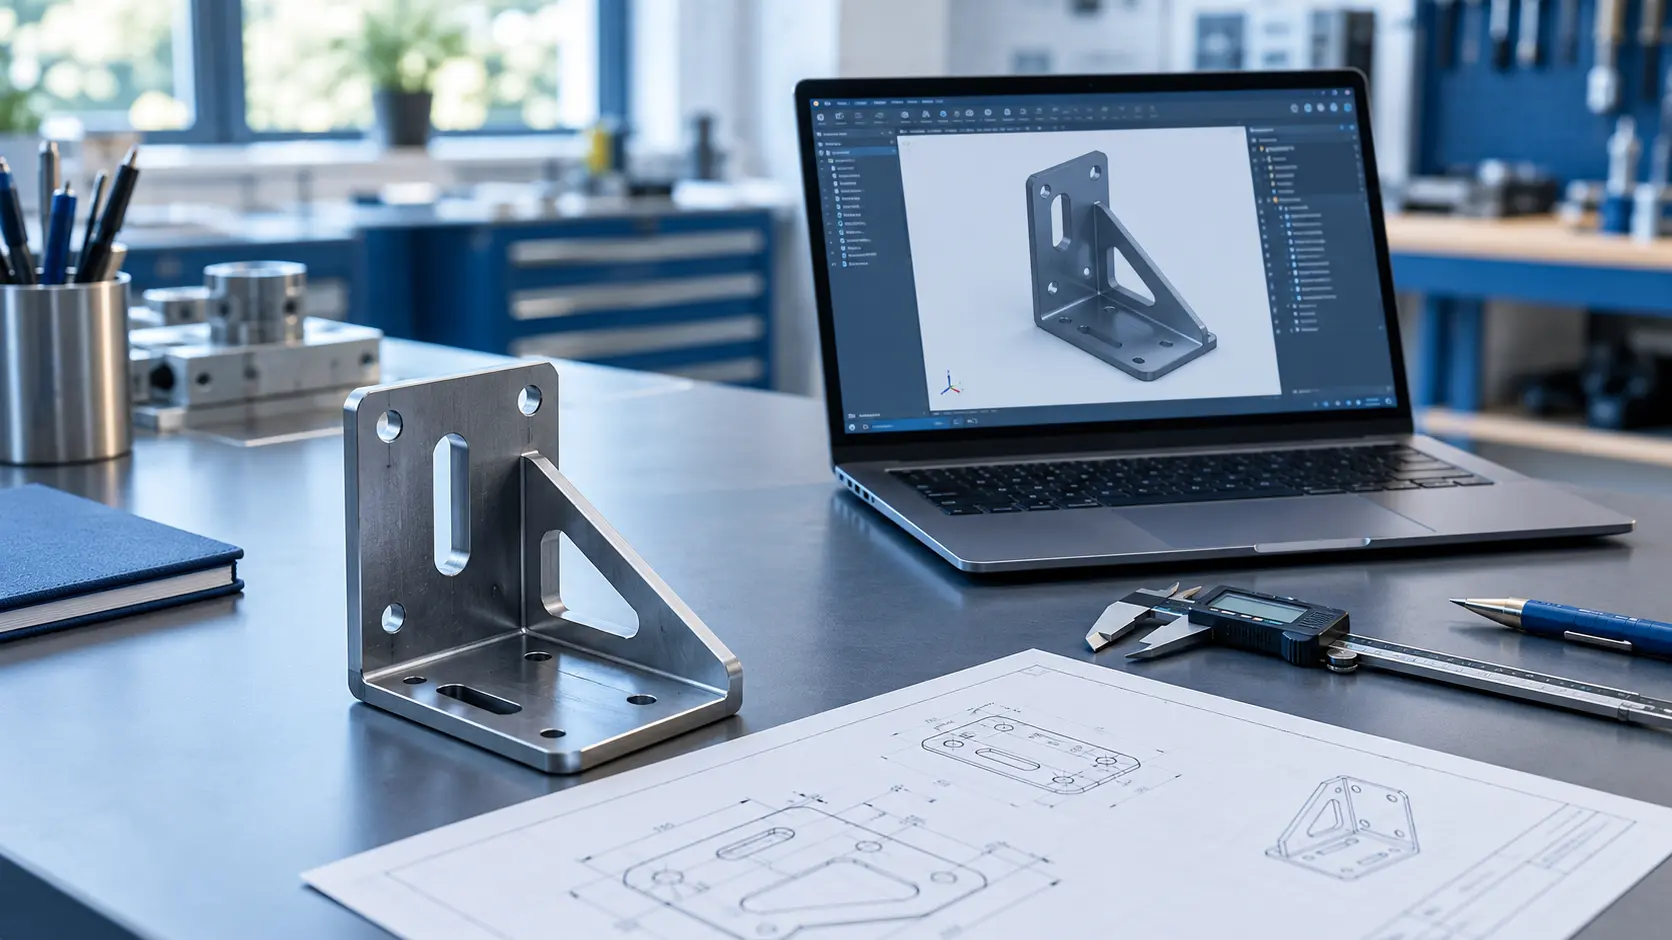
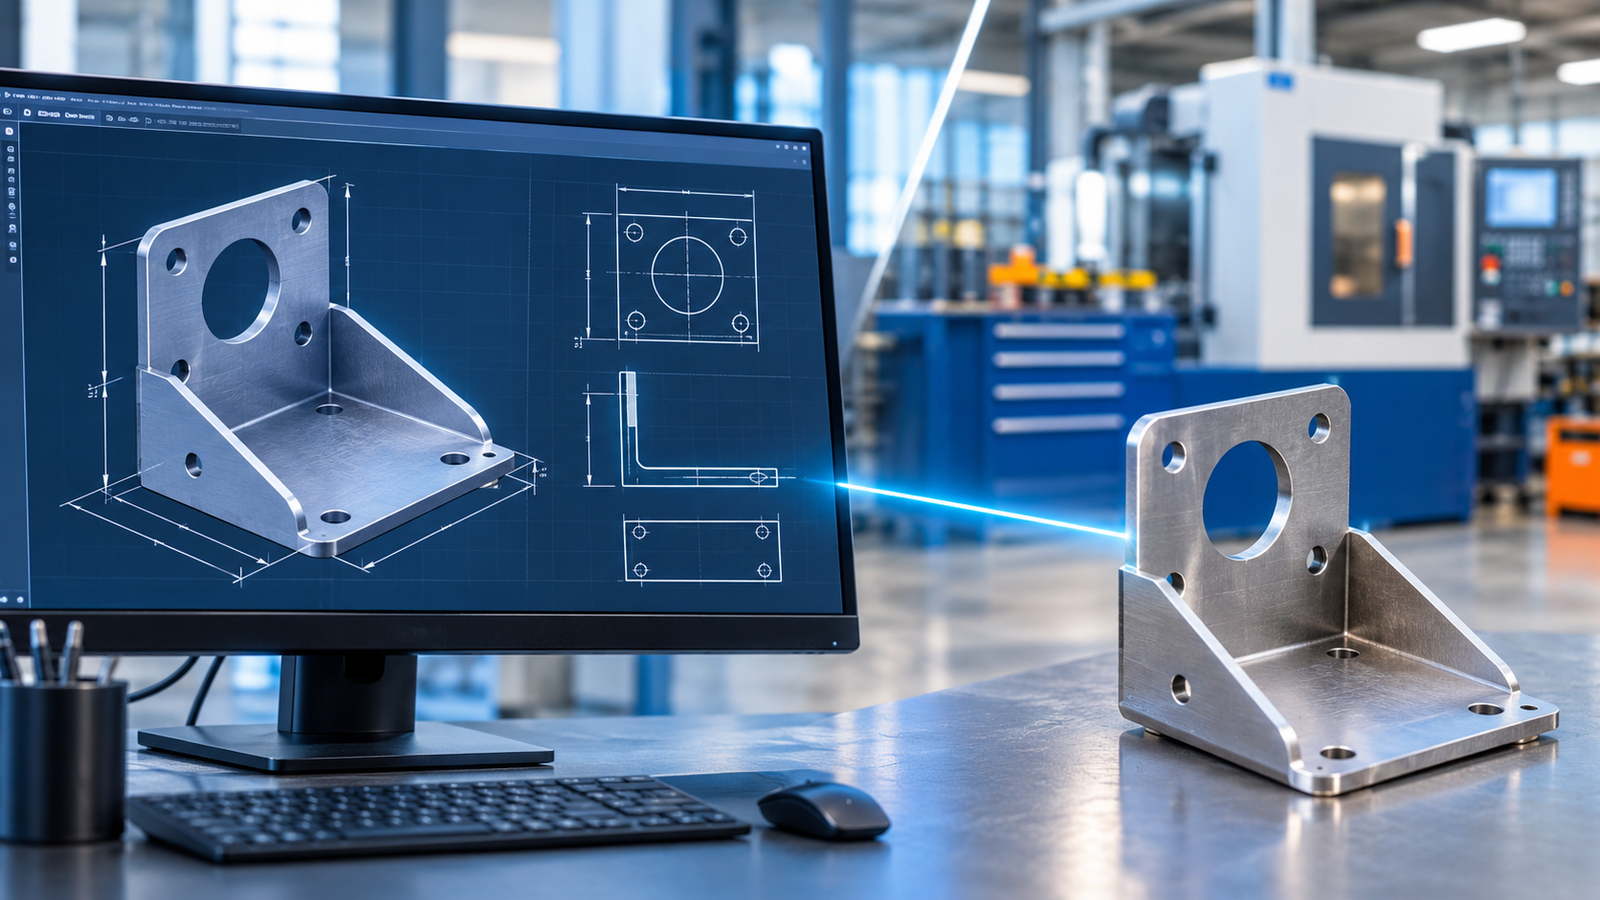
Picture a mounting bracket made from four welded pieces, with tight tolerances on every edge. It needs three setups and a fixture. Welding distorts it, so rework is constant.
Now redesign it as one bent and punched part. Tolerances stay tight only on the two mounting holes. No weld, no fixture, one setup. The function is the same and the steps are far fewer. That is design for manufacturing cost reduction in practice. (This is an illustrative case, not a client project.)
After Design: Close the Loop
DFM does not end when the drawing is released. Three things should happen next:
- Turn the model into clear drawings. Vague drawings produce wrong parts. Solid CAD design services give the shop dimensions, tolerances, and notes they can trust.
- Prepare the production path. Smart CAM programming creates efficient toolpaths and nests parts to waste less material.
- Feed the results back. Track scrap, rework, and cycle time on the first batch. Then update the design and your own rules.
That last step is the one most teams skip. It is also the one that makes your next product cheaper.
Mistakes That Quietly Inflate Costs
- Bringing manufacturing in after the design is “done”.
- Over-specifying tolerances and surface finishes.
- Using custom hardware when standard fasteners work.
- Ignoring assembly. A part that is easy to make but hard to install still costs money.
- Skipping the feedback loop after the first run.
How to Protect Quality While You Cut Cost
Cutting cost is easy. Cutting it safely is the skill, and it is what separates real design for manufacturing cost reduction from plain cost-cutting. Quality drops when teams trim without checking, so build a few guardrails into the process.
Protect the Critical Features
Mark the features that control fit, strength, and safety. Do not touch them during cost reviews. Everything else is fair game.
Check Before You Release
Run a short checklist on every drawing:
- Can a standard tool make every feature?
- Are tolerances tight only where they must be?
- Can the part be assembled in one direction, without special tools?
- Has the shop reviewed it?
If you answer “no” to any of these, fix the design before it reaches production. It takes ten minutes and saves weeks.
When to Bring in Outside Help
If your team is stretched, or the product is complex, bring in mechanical design services to lead your design for manufacturing cost reduction work. A good partner reviews your design for manufacturability, flags costly features, and delivers production-ready models.
I would bring them in before the design freeze, not after. A review at that stage costs far less than one scrapped batch.
Final Thoughts
Design for manufacturing cost reduction is not a late-stage review. It is a habit. Settle the process early, simplify during design, and learn from every batch.
Start small. Pick one product, run it through this checklist, and count the savings. If you want a second pair of eyes, get in touch with Keyway. Send us your drawing and we will show you where the cost is hiding.
Frequently Asked Questions
What is Design for Manufacturing?
Design for Manufacturing is an engineering approach where you design a product to be easy and affordable to produce. It looks at materials, tooling, tolerances, and assembly from the first sketch.
How does Design for Manufacturing reduce production costs?
It removes steps, parts, and tight tolerances that add cost without adding value. Fewer parts and simpler processes mean less labor, less scrap, and shorter lead times.
Does Design for Manufacturing hurt product quality?
No. Simpler designs have fewer failure points and are easier to inspect, so quality usually improves. You only cut features that add cost without adding function.
When should I start applying Design for Manufacturing?
At the concept stage. Changes are cheapest on paper. Once tooling is ordered, small tweaks turn into expensive redesigns.
What are the main Design for Manufacturing principles?
Reduce part count, use standard components, relax non-critical tolerances, pick the right material, and design for your chosen process and easy assembly.
How do CAD Design Services support Design for Manufacturing?
Professional CAD design services produce accurate 3D models and detailed drawings with clear tolerances. Your shop gets what it needs to build the part right the first time.
Can Mechanical Design Services help with a DFM review?
Yes. Mechanical design services teams check drawings for manufacturability, point out costly features, and suggest changes before production starts.
How does Design for Manufacturing apply to sheet metal parts?
Bend radii, hole spacing, flange lengths, and flat patterns all affect cost. Following sheet metal design service rules reduces cracking, distortion, and scrap.
Can I apply DFM to old parts that have no drawings?
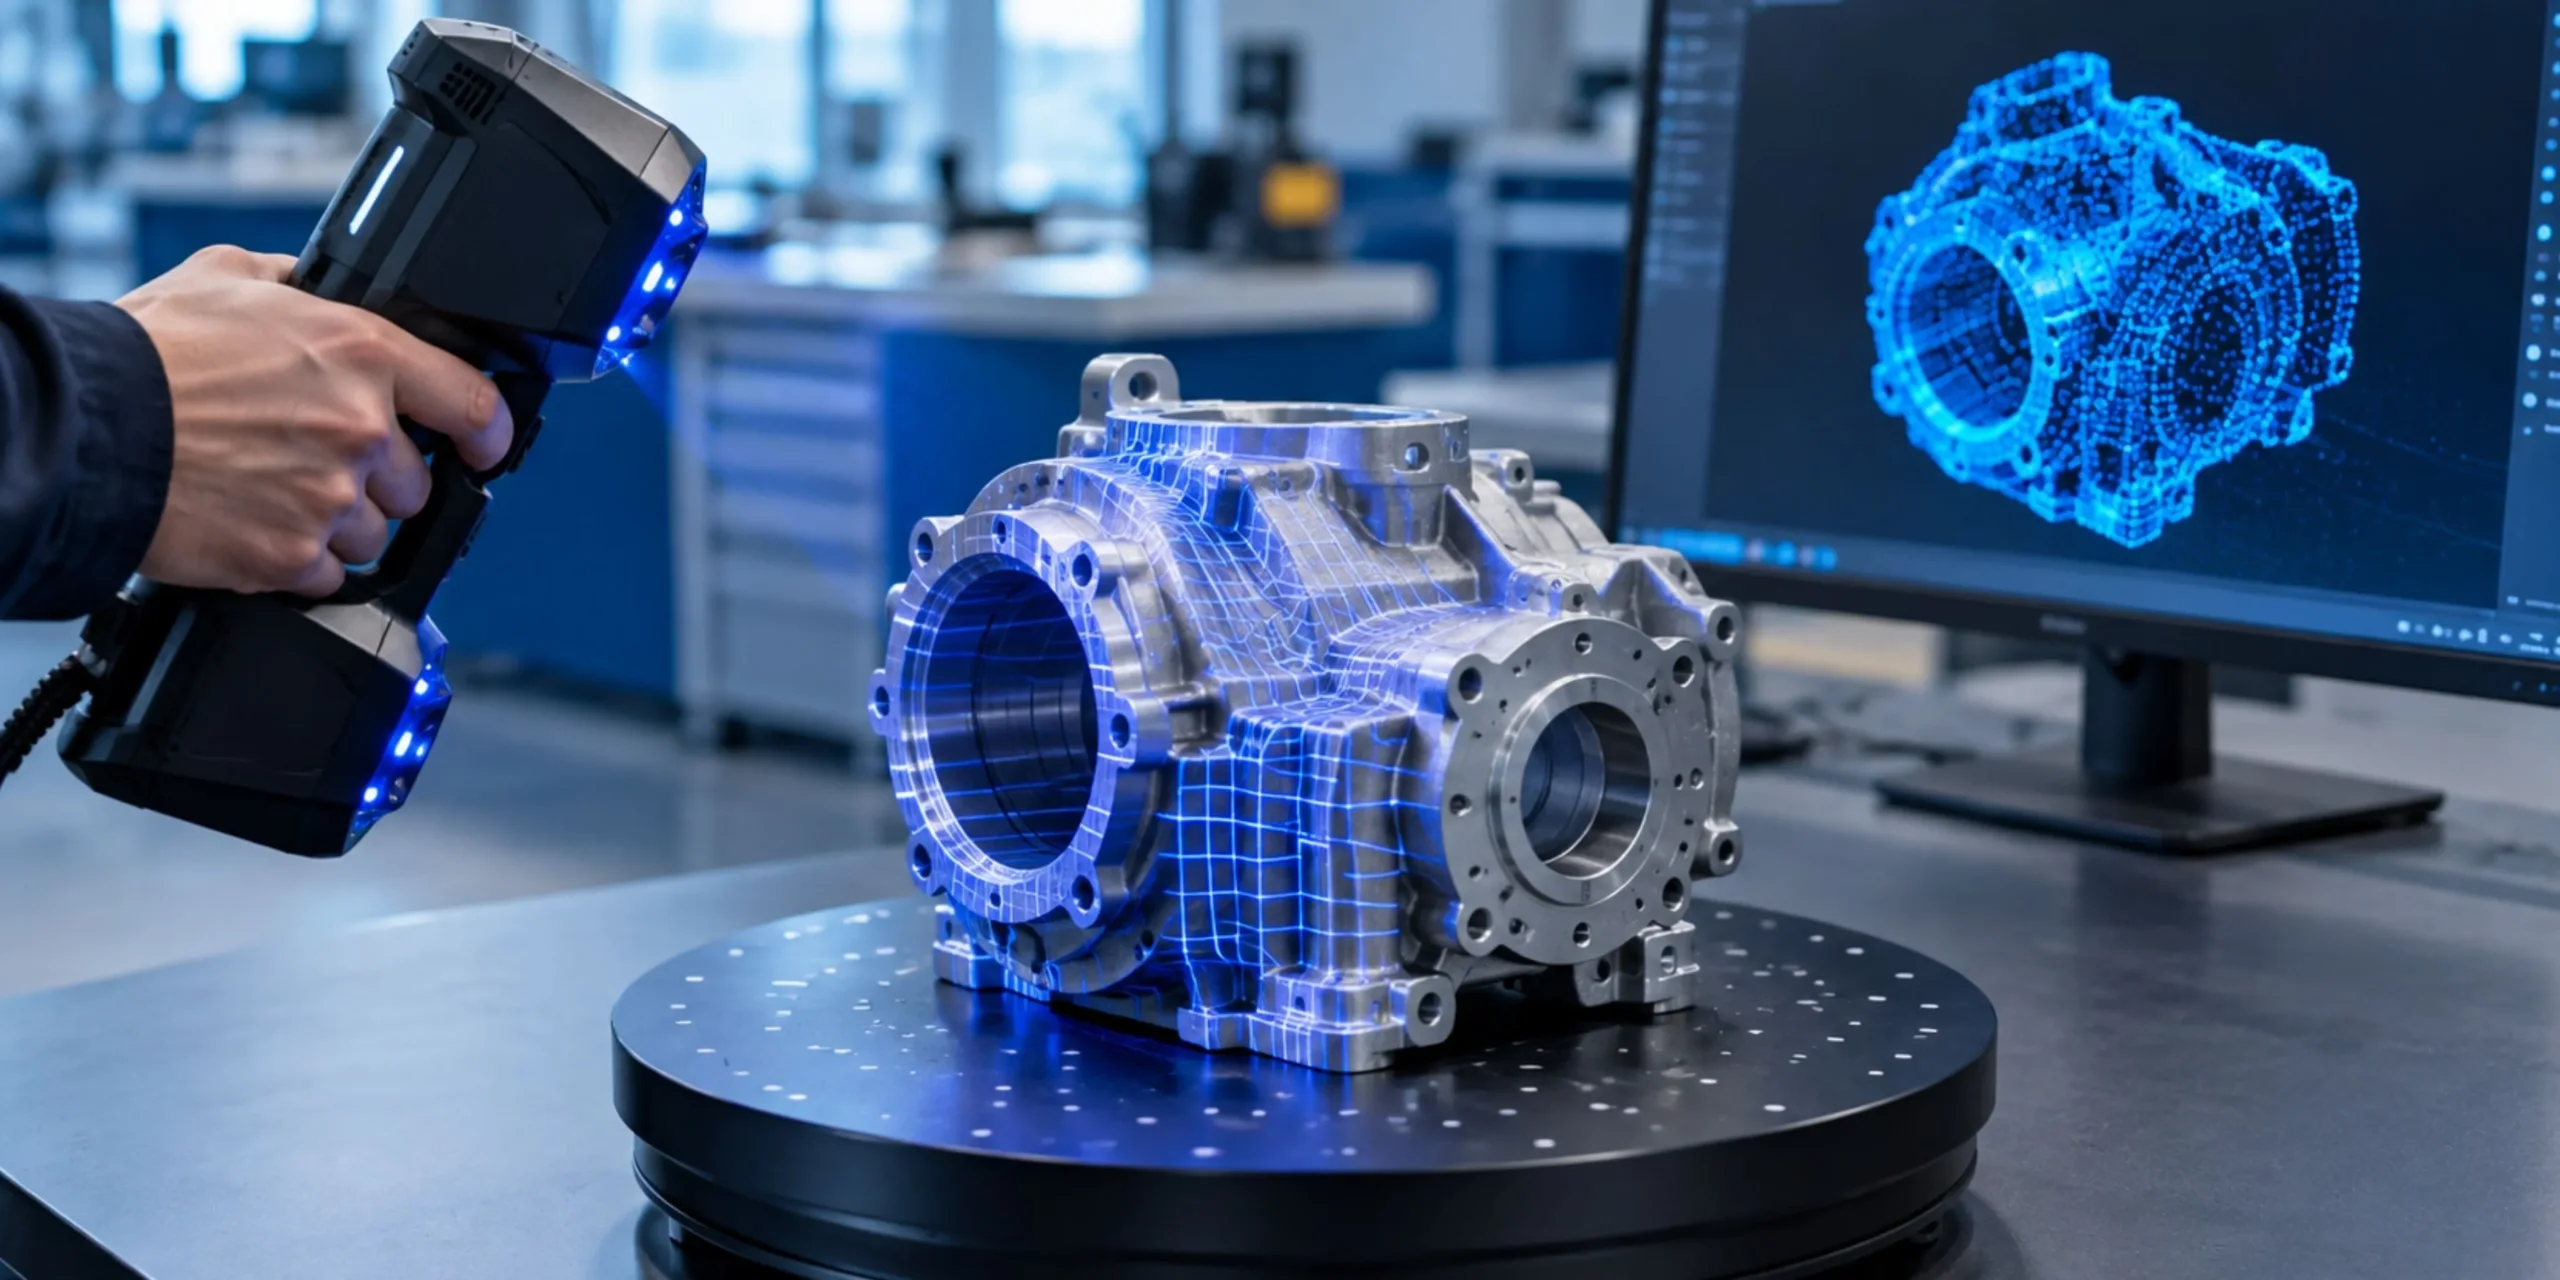
Yes. Reverse engineering services capture the part, rebuild it as a CAD model, and let you improve it for modern manufacturing.
How does Design for Manufacturing reduce material waste?
Efficient nesting, right-sized stock, and simpler geometry mean less scrap. See how CAD can reduce material waste in more detail.