Design for Manufacturing (DFM) is not an option anymore in product development in a modern method: it is a competitive edge. When mechanical engineers embrace the DFM principles at an early design stage, they always produce products that are cheaper to manufacture, more economical and dependable in the actual production set up. There are usually delays, cost overruns, a lot of rework, and frustrated suppliers in those who fail to consider DFM.
This is an action-oriented shop-floor manual on DFM checkpoints that can be applied to mechanical engineers working in CNC machining, sheet metal fabricating, welding, assembly, and general manufacture. Rather than being filled with theory, this article gives a simplified, practical checklist one can look at prior to printing any drawing to production.
When you need to buy fewer materials to manufacture a product, enhance product quality, lead time, and engineering change orders (ECOs), this DFM checklist would assist you in designing smarter.
What Is Design for Manufacturing (DFM)?
Design for Manufacturing Designing parts and assemblies in such a way that it is cheap, easy and dependable to manufacture. It is concerned with making geometry as simple as possible, making tolerances as small as possible, choosing the right material, eliminating extraneous complexity, and matching the design to the capabilities of the real shop-floor.
A substantial portion of the product cost is settled upon in the design phase – long before the production begins. It implies that mechanical engineers are the most influential in terms of profitability and manufacturability. DFM does not aim at reducing quality standards. It is involved in having an efficient performance goal.
The Core DFM Checklist for Mechanical Engineers
Instead of dividing DFM into too many categories, we will focus on the most critical areas that directly affect manufacturing cost, quality, and production speed.
- Material Selection: Function Over Assumption
One of the most important Design for Manufacturing (DFM) decisions is the proper choice of the material because the selection directly determines the cost, performance, and the efficiency of production.
- Select materials according to real, rather than habit and over-engineered, functional needs.
- Determine whether the material is over specified and whether a more machinable grade is available that can lead to shorter CNC time and lesser tool life.
- Make sure that the material is in common stock sizes so that lead time and unnecessary cost are not wastage.
- Exotic alloys should not be used where performance can be achieved with standard aluminium, mild steel or common stainless steel.
- Think of the effect on fabrication operations, tools, corrosion resistance and the total cost of manufacturing.
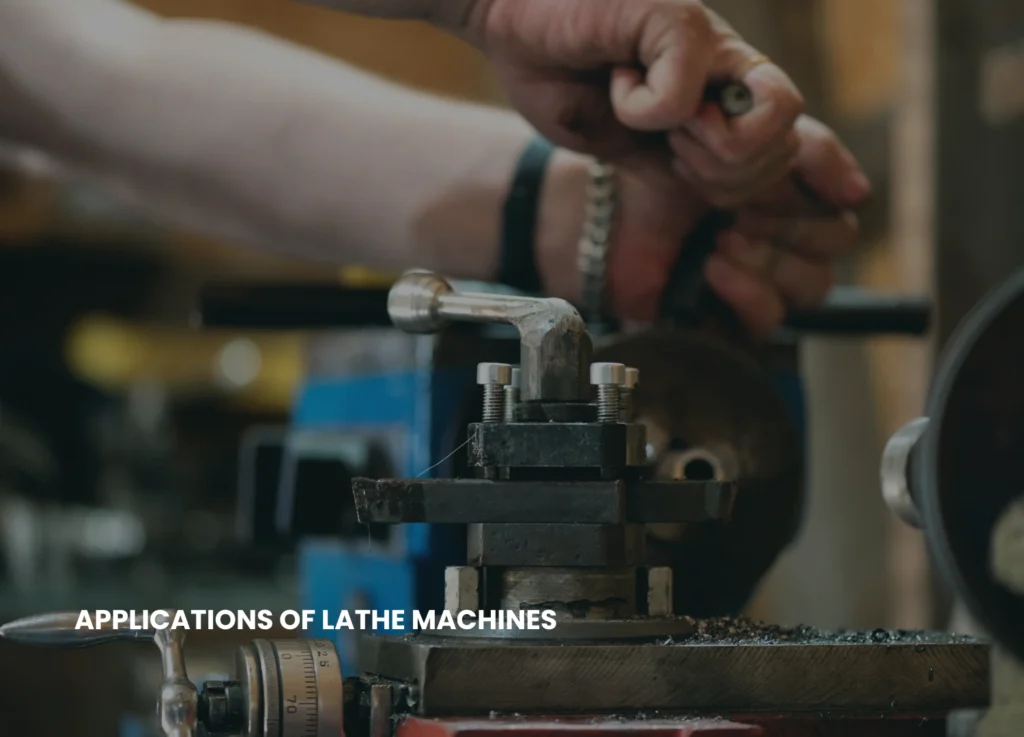
- Geometry Simplification and Machining Efficiency
One of the largest cost drivers in manufacturing is that of complex part geometry. Deep pockets, slim walls, sharp internal corners and redundant undercuts contribute to longer machining times, tool life, and more complex programming.
Do not just go by bullets, but think practically: Can the part be machined in fewer setups? Are tool access paths clear? Can internal corners be used with conventional end mill radii? Is it symmetry to simplify operations? Is there an ability to combine or even remove several features?
The simplified geometry can also be used to improve dimensional consistency besides reducing CNC cycle time. In the shop floor, the plain parts can travel quicker, cause less mistakes and they will yield less scrap. Complexity might be appearing impressive in CAD, but it typically adds to the cost of manufacturing.
- Tolerance Optimization and Functional Precision
Tolerance optimization is an important topic in Design for Manufacturing and over-tolerance is one of the most advanced and costly errors that mechanical engineers commit.
- Unnecessary tight tolerances should never be used as they add to machining time, effort during inspection, and risk of rejection.
- It is recommended to assign such tight tolerances to critical mating surfaces and other performance-related specifications; tolerance should be reasonable on non-critical dimensions.
- It is important to remember that with tighter tolerances, machining speeds are usually slower, and inspection operations are more detailed, which raises the cost of manufacturing.
- Design tolerance stack-up at assembly level to avoid cumulative variation issue at the assembly level.
- Particularly make sure that parts are not just accurate but also convenient and effective to measure in the shop floor.
- Surface Finish and Secondary Operations
Surface finish is a type of cost that is usually disguised in the production. Giving very fine finishes on the surfaces of complete parts, those parts which may only need it, adds a lot of time to machining.
Prior to deciding on the values of surface finish, inquire whether a standard machine finish was adequate. Is it really necessary to polish, grind, coat or plate? Is it possible to divide cosmetic requirements and functional surfaces?
All other finishing operations result in labor, risk and lead time. DFM also asks engineers to only specify things that will enhance performance or durability and not the superfluous perfection.
- Design for Fabrication and Welding
The fabrication intensive industries experience distortion, alignment issues and overworking of welding due to poor DFM practices. The sizes of the welds are over specified resulting in more heat input and part distortion.
Good DFM must be able to take into consideration welding access, distortion control and necessity of the structure. Is it possible to lower weld length without loss of strength? Is it possible to design parts which are self-locating or self-jigging? Do the weld symbols have a clear definition and are practical?
Over welding is not stronger, and results in more distortion and increased cost. Smart designs also minimize the rework and enhance structural integrity.
- Assembly Efficiency and Part Count Reduction
One of the main ideas of Design for Manufacturing (DFM) is the part reduction which allows to increase the efficiency of the assembly process and decrease the cost of production.
- Profitability of assembly is not taken seriously during the design of the product.
- By minimizing the number of components in a design, it makes the total assembly process easier.
- Designers are supposed to consider whether several parts can be brought together as one piece.
- The use of standard fasteners removes the complexity required in inventory and simplifies assembly.
- Components must have intuitive and foolproof orientation so as not to install them wrongly.
- The necessary parts ought to be accessible to reduce time and effort during the assembly.
- The less the parts, the fewer assembly errors and production downtimes.
- Process Selection and Production Volume Alignment
Making the wrong decision on the manufacturing process will kill the profitability. CNC machining would be ideal where the production volume is low, but at greater volumes, injection molding, casting, or stamping can be more cost effective.
Production volume and lifecycle expectations should be considered before completing your design. Is it worth investing in tooling? Does additive manufacturing serve the right purpose or does it substitute more effective conventional methods?
Aligning the design with the right production process is cost-effective on a large scale. DFM is long-term thinking – not prototype success.
Inspection, Quality, and Cost Awareness
A design has to be simple to conduct production on – but it has to be simple to check. Obvious data models, quantifiable sizes and realistic areas of tolerance enhance quality control efficiency.
Mechanical engineers ought to think business wise as well. What is the figure of the cycle time? How many setups are required? Are there secondary processes which are hidden? What is the scrap risk?
Having knowledge of shop-floor cost drivers enables the engineer to design profitably, as opposed to technically.
Common DFM Mistakes to Avoid
Even the most accomplished engineers make one of those traps that could be avoided:
- Over-engineering components
- Ignoring supplier feedback
- Setting tight tolerances which are not necessary.
- Delaying the manufacturing consultation.
DFM is most effective when the team of designers and the team of producers work together at an early stage and regularly.
The Actual Worth of a Real DFM Checklist.
When a structured Design for Manufacturing checklist is applied the following improvements can be measured:
- Lower manufacturing cost
- Reduced scrap and rework
- Faster production cycles
- Improved product quality
- Minimized change orders in the engineering department.
- Better supplier relations.
Above all, DFM develops the correspondence between the engineering intent and the execution at the shop-floor.
Final Thoughts: Design for the Real World
The perfect mechanical engineers do not work in isolation. They reason as machinists, welders, fabricators and assembly operators. Questions to ask before publication of a drawing: Can this part be economically, repetitively and profitably produced?
A realistic DFM checklist will convert product design into an imaginary process to a practical production solution. In the competitive manufacturing industries, those firms that focus on engineering accuracy and manufacturing intelligence always perform better than others.
By simply using the principles of DFM, you will not only decrease the cost of manufacturing – you will enhance the quality of your product, decrease the lead time and develop more resilient production systems.


 ; paid such as PowerInspect, to do inspection.